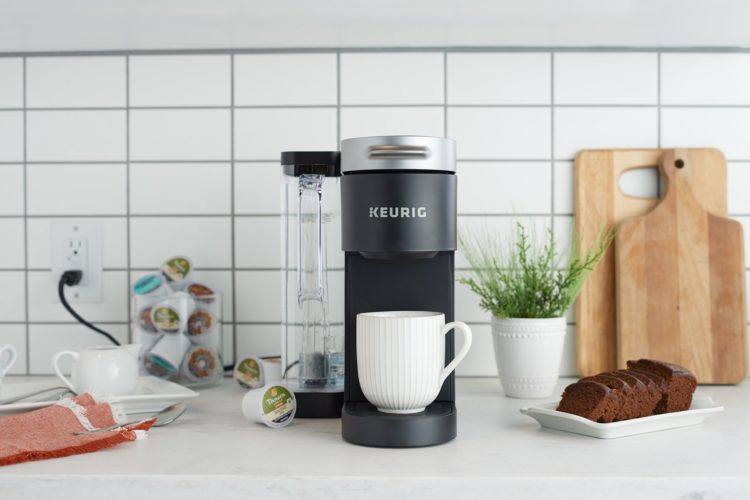
The Keurig coffee machine is a popular product that effortlessly brews a delicious cup of your favorite blend. When you keep your Keurig running smoothly, it’s crucial to inspect your machine, and all the functioning parts, including the needle. When you lift your coffee machine’s brewer handle to add your K-cup, the needle is situated in the top half, on the underside.
It’s easy to clean your Keurig’s needle, which should only take a few minutes. While you don’t have to clean it often, there are a few signs that indicate it requires attention:
- One or both needles appear to be clogged
- The Keurig brews inconsistently and is sputtering
- The machine isn’t brewing as usual and operates slowly, or only brews a partial cup
Once you determine that your needles require cleaning, you’ll find this process dramatically improves your Keurig within just a short time.
How to Prepare Your Keurig
Before you clean your Keurig’s needle, make sure the coffee machine’s power is shut off and the device is unplugged. This will prevent any risk of shock during the cleaning process. If you recently used the Keurig, allow it to cool down before proceeding to the next step.
Step-By-Step Process to Clean Your Keurig Needle
In just a few steps, you’ll significantly improve the performance of your coffee maker. This process includes removing the pod holder and funnel so that you can rinse these parts before cleaning the needle. It’s essential to clean these other parts to ensure your Keurig’s function is smooth and without any issues.
- Lift the handle at the top of the Keurig coffee maker to open the area where you place the K-cups. Pull the top of the pod holder, using one hand to hold the top, while pushing the pod holder from below with the other hand.
- With the pod holder in one hand, place your other hand on the funnel on the other end, and firmly but carefully twist to separate both pieces. If you encounter difficulty pulling these two pieces apart, place the funnel under warm or hot water to help disconnect them.
- Use a paper clip to insert into the bottom of the pod holder to remove any debris in the exit needle. Turn the pod holder upside down and continue using the paper clip to clean the small tube, removing any clogged dirt and moving it around for about 20-30 seconds. It’s essential to perform this step gently, without placing any pressure.
- When you inspect and clean the pod holder and filter, rinse both items with hot water, rinsing away any loose debris. Then, using a clean sponge or cloth, wipe down both parts to remove grime and dirt that doesn’t quickly rinse off. Some Keurig pod holders are dishwasher safe and should be washed before being placed back into the machine.
- Allow all washed parts to dry completely, either with a dish towel or air drying, before refitting back into the Keurig.
- Locate the entrance needle inside the machine where you place the K-cups. You will notice two openings on either side of the needle’s tip. The tip of the needle is very sharp and should be avoided during the cleaning process.
- Use a paper clip to insert inside both sides of the needle, carefully move them around and remove any loose dirt or debris. Move the paper clip around, gently scraping the sides in the needle’s interior, repeating both sides as needed, until all debris is removed.
- Once the needle is clean and the funnel and pod holder is dry, place both parts together and reinsert the set back into the Keurig.
When you reinsert the pod holder, align the table to the openings in the machine, allowing it to click into place. Consult with the instruction manual to determine how the parts fit together if you need additional assistance.
Running Your Keurig Brewer After Cleaning the Needle
Once you have completed the cleaning process and needle maintenance, which includes thoroughly removing any dirt and grime from the needle and refitting the pod holder and funnel, you’ll want to rinse the machine with fresh water. To begin this step, run two brew cycles with only water. Position a large cup on the tray to collect any dirt and grime that flushes through the machine through both cycles.
If you suspect there may be additional debris to flush out of the machine, try a third cycle, which should clear any leftover dirt. Once you get acquainted with the cleaning process, you can repeat once every two weeks or as needed, especially if you use your Keurig often.
When you clean and maintain your Keurig often, you’ll extend the enjoyment and quality of your favorite brew after just a few minutes of serving your machine. After each cleaning process, and after you rinse your machine with two brew cycles, you can brew your next favorite cup of coffee right away and enjoy the taste of your favorite Keurig blend.