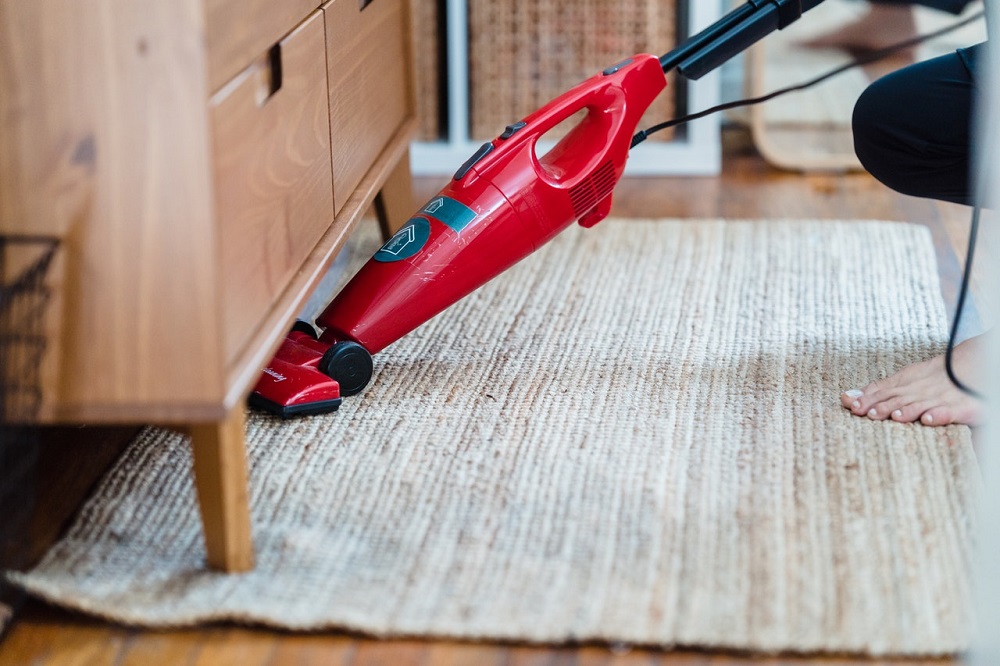
With its value proposition coupled with its lightweight profile, there’s no denying that Dirt Devil has become one of the most popular vacuum cleaner brands. If you’re on the quest for a functional and lightweight unit that exudes simplicity, then Dirt Devil is right up your alley.
Nonetheless, excessive use can clog the vacuum with dirt. Therefore, to unclog it and get it functioning optimally, you’ll need to clean it, which entails disassembling it.
With no mechanical experience, you might be puzzled about where or how to begin. Fortunately, you’ve come to the right place. Rather than a trial-and-error which can evoke frustration and disappointment with each unsuccessful attempt, this guide will walk you through the step-by-step process of how to take apart a Dirt Devil vacuum cleaner efficiently.
How to Take Apart a Dirt Devil Vacuum Cleaner
To get started, follow the step-by-step process discussed below.
1. Take Out the External Battery or Power Brick
Most upright Dirt Devil units include a power brick or external battery that is typically connected to the charger plug of the AC socket. Once you locate it, remove it and put it aside.
2. Lay the Machine on the Floor
Disassembling the vacuum cleaner can be a messy process, particularly when it’s been a while since it was cleaned. Therefore, we recommend putting it on a disposable cardboard box or old newspapers to prevent the dirt and debris from getting your floor dirty.
Lay the unit horizontally on the floor with the suction head facing the box or newspapers. Turn the vacuum cleaner such that the handle faces upwards.
3. Detach the Handle
To disassemble the handle from the machine, turn the locking collar that sits at the bottom of the handle counterclockwise. A quick spritz with a lubricant should do the trick if it doesn’t rotate.
Continue turning the collar counterclockwise until it can’t rotate any further. Tightly grip the handle and pull it away from the collar until it detaches from the unit’s frame.
4. Unscrew the Parts
Once you adjust the handle to its side, you’ll notice a screw facing upwards. Grab a Phillips screwdriver and remove the screw. Next, put it in a paper cup or small container for safekeeping. Use your hands to spread the two sections apart.
5. Release the Canister or Dirt Reservoir
Keep your eyes peeled for a particular button on the vacuum cleaner that will release the canister. You’ll typically find it at the bottom of the machine. Once you locate it, use one hand to push while holding the canister with your other hand.
Doing so will detach the dirt reservoir from the unit. Empty it and take out the filter. Next, rinse the cup with cold water and leave it to dry.
6. Unscrew the Brush
Turn the vacuum until the side containing the bristles faces upwards. Once you notice the screws on each side, use a screwdriver to unscrew them. If finding the screws proves to be an uphill task, you can pull the bristles away from the vacuum frame. Remember to put them in a paper cup or container for safekeeping.
7. Take Out the Metal Plate
Once you’ve detached the brush head, remove the metal plate and keep it in a safe place. You’ll notice more screws from each side of the frame. That’s your cue to unscrew them and put them in a container to avoid misplacing them.
8. Take Out the Brush Head
Remove the brush head to clean it. You can now proceed to get all the components of the vacuum cleaner spick and span. Once they are clean, let them air dry before you reassemble the unit to avoid corrosion and rusting.
Is a Dirt Devil Vacuum Cleaner a Breeze to Maintain?

Typically, the most fundamental steps required to maintain this machine are emptying the canister, cleaning it and filter replacement. Let’s discuss other preventative and upkeep pointers that will keep the vacuum cleaner in tiptop condition.
Electronics
Each Dirt Devil vacuum cleaner comes with an all-in-one control board that houses various components such as relays and transformers. Besides being more cost-effective and durable, a central control board is more powerful.
To replace it, you’ll need to confirm the amperage specifications and number of motors to ensure you find the perfect match. The good news is that retrofitting a control board is easy.
Filter
Like other vacuum cleaners that have littered the market, such as Dupray Neat, one simple maintenance step for the Dirt Devil unit is to empty the canister. Although most models come with washable filters, it’s wise to confirm whether the filter is water-friendly.
With continued use, a filter replacement is inevitable. The good news is that replacing it is easy as it’s relatively affordable.
Motor
Every Dirt Devil model comes with a permanently sealed motor that doesn’t require maintenance because lubrication isn’t necessary. Even if you conduct routine motor maintenance, you’ll only require checking it once per 5 years.
When inspecting the motor brush, make sure the central motor shaft is stable rather than wobbly or loose. Failure to do so means the bearings might be due for replacement. You can reach out to a local dealer for motor replacement or take the DIY route.
Motor Brushes
The Dirt Devil motor has two brushes. It’s worth noting that they should be replaced before they damage the motor. As a rule of thumb, these brushes require an inspection every five years for home use.
Remember that the motor can malfunction for other reasons ranging from bad bearings to dust and dirt buildup.
Vacuum Head
The carpet brush and vacuum head of your Dirt Devil cleaner require attention. Therefore, take the time and patience to cut off long fibers, hair and strings that have accumulated around the roller.
When the roller is out of sync, vibration and friction can cause the bushings and bearings to malfunction. For that reason, inspect and clean the brush head frequently.
Bottom Line
Now that you know how to take apart a Dirt Devil vacuum cleaner, you can do with ease and keep your machine functioning optimally.

